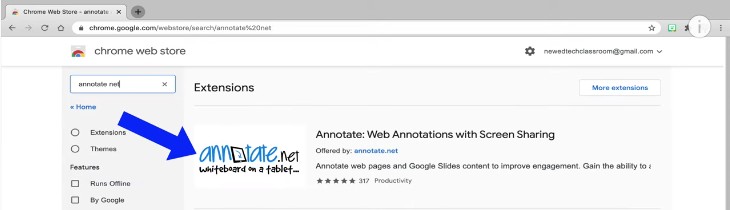
1 of the most common questions teachers ask me is how they can describe directly on Google Slides to make their Google Slides lessons more engaging. Hither'south how to practice it!

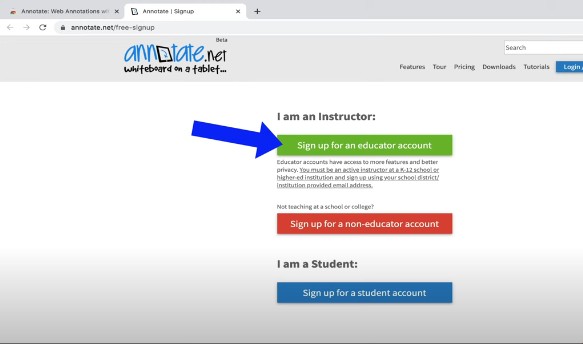
Here y'all'll run into that yous can create an instruction account if yous can show that you are affiliated with a school, and yous'll too accept an pick to create a non-educator account. Both business relationship types will give you access to a large majority of the features for gratis. All the features I'll show in this post are for the completely free version.
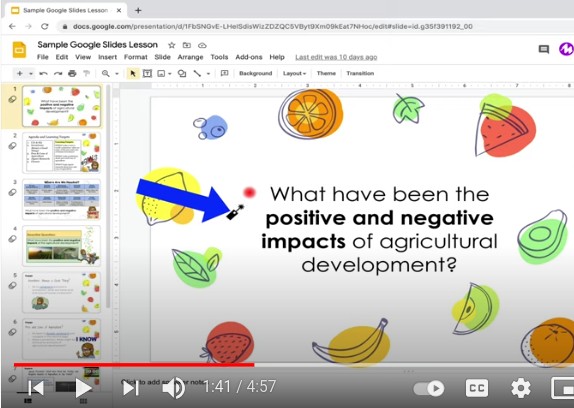
Once y'all've set up your business relationship, y'all can immediately hop over to a Google Slides presentation to see how information technology works.
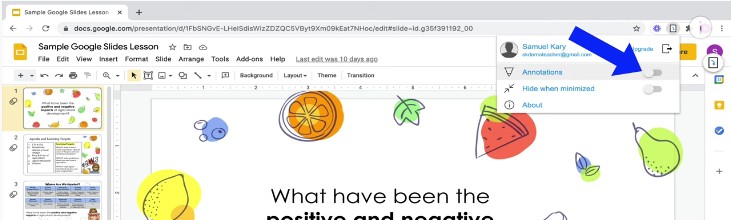
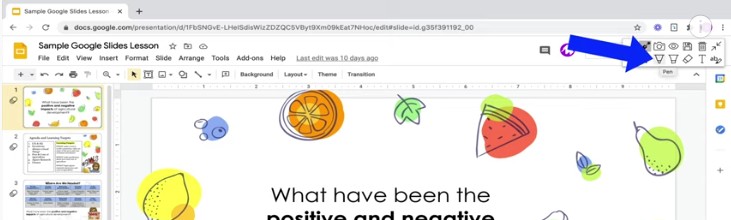
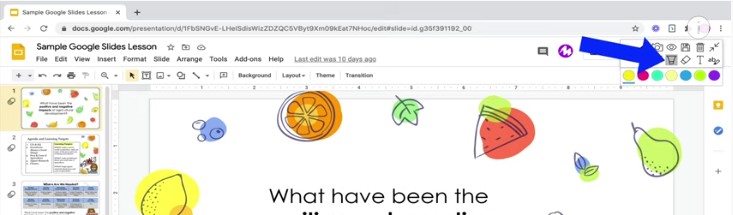
First you'll need to click on the extension and choose 'plow annotations on'. And then y'all'll run across an annotations menu show up on the top right-manus side of the screen.
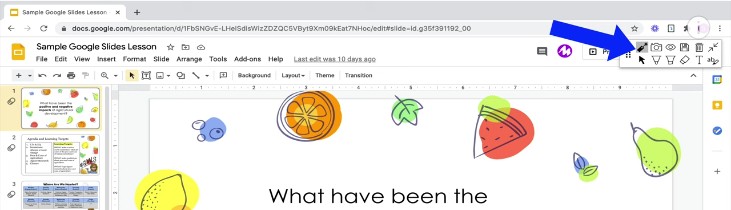
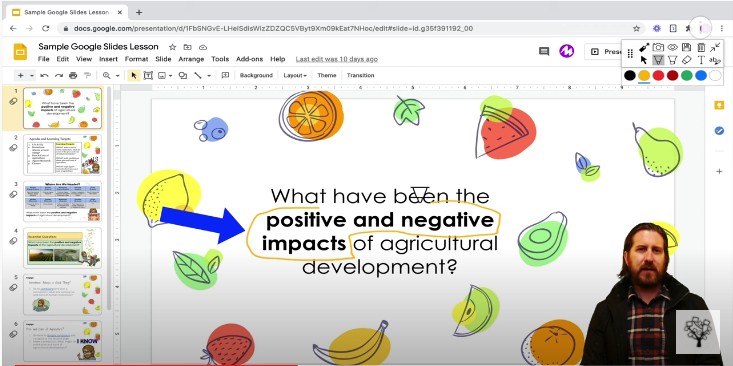
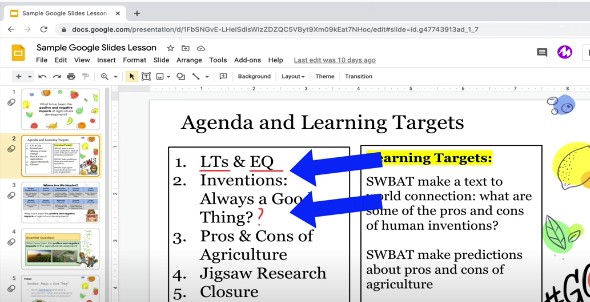
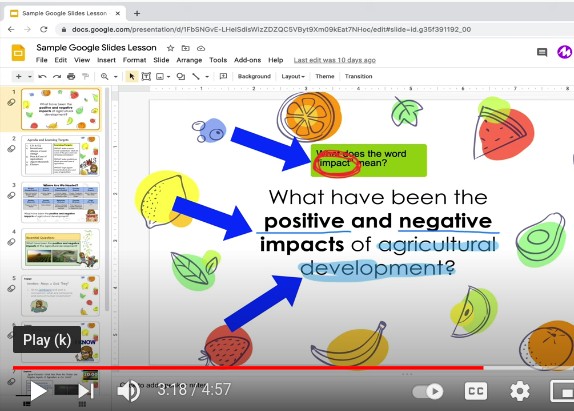
Next is the pen tool. When y'all select it, yous'll notice different color pen choices show up. Pick a color yous want, and you tin utilize it to draw directly on your slides.
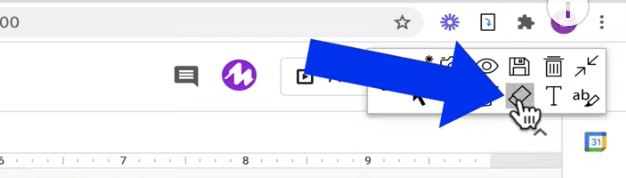
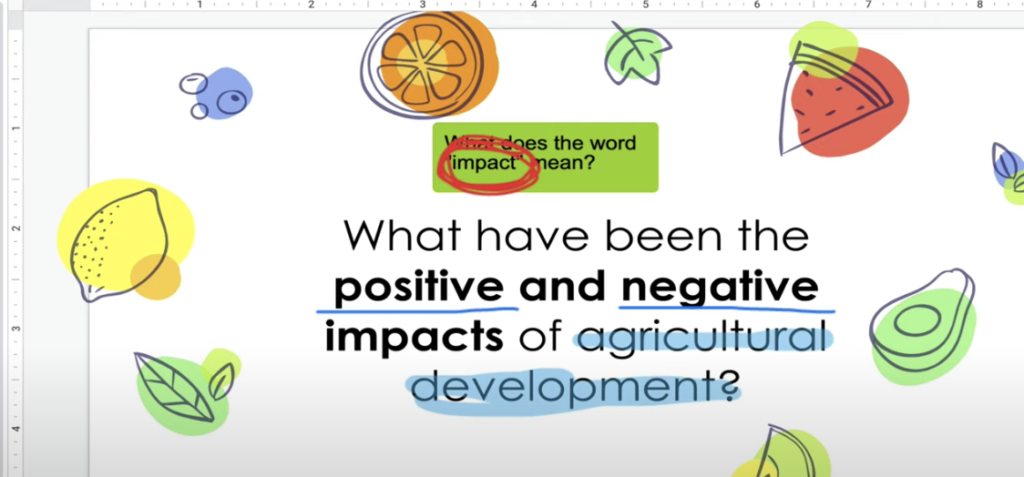
Then, if you wanted to get rid of what you drew, select the eraser tool. Lots of notation tools require you to manually erase what y'all drew, which can be a hurting, simply with this i all you lot demand to do is strike through the note, and it will erase all of it at once.
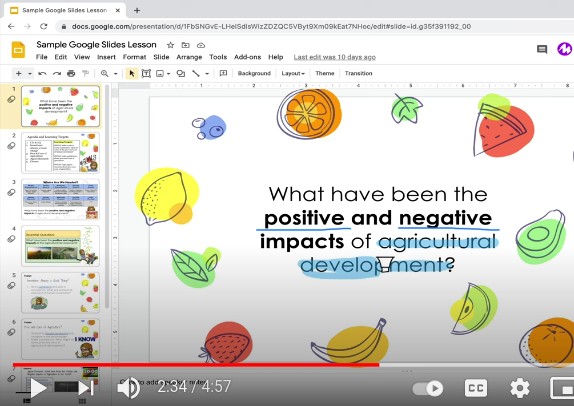
Adjacent to the pen you'll notice the highlighter tool. Choose from one of the highlighter colors to choose and then highlight your Slides.
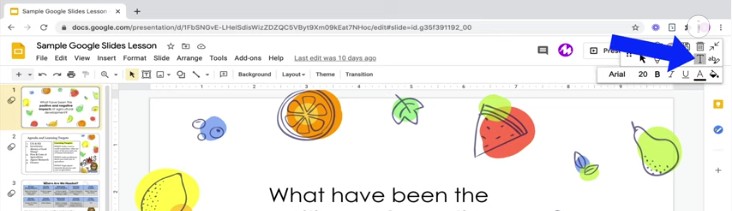
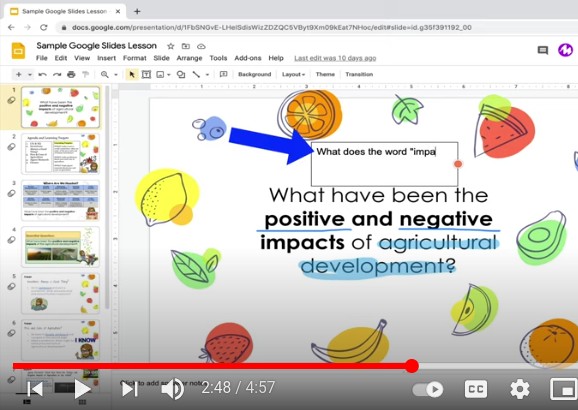
Lastly, the text box tool allows y'all to add text anywhere you lot want on meridian of a slide while you're teaching. You might want to use the text box tool to do things like add follow-up questions directly on your Slides. Yous can as well backfill text box with color to brand it stand out and use the pen to to annotate what y'all just typed also.
After yous've annotated the beginning Slide, click on the next one, and yous'll find that the marking-ups are no longer on the screen, and you tin add together entirely new annotations to the other Slide.
Then, when you go back to the previous slide, yous'll run into that the annotations you previously created are still at that place!
Relieve Annotations to Reuse Once more
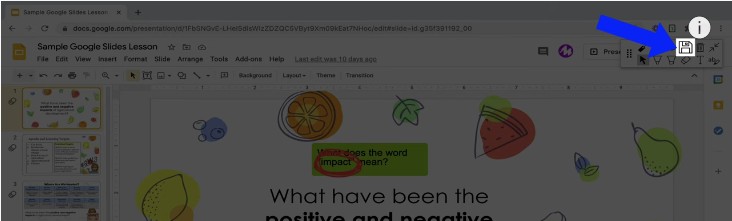
You can as well save your annotations to use later. To do that, go up to the disk icon, give your annotations and proper name and a clarification, and click 'save'.
At present that you've saved the annotations, you'll be able to pull them dorsum up fifty-fifty after yous've left the Slides presentation.
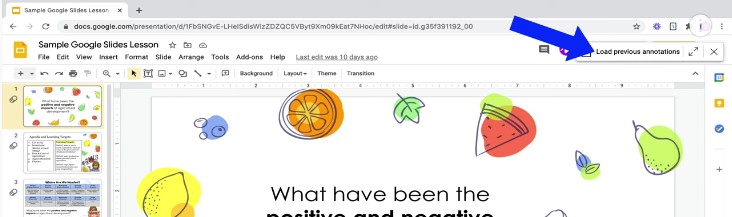
Only click on the presentation again from the Google Slides homepage, click on the annotations toolbar, select the expand tool, and click load previous annotations. There you'll see all your saved annotations, and when you click on the ane you but saved, you'll see that those annotations show up again on your Slides!
DOWNLOAD HERE
How to Draw on a Slide in Google Slides TUTORIAL
Posted by: hectorbeace1972.blogspot.com


Comments
Post a Comment